Patchwork has a long tradition of using precisely cut, paper pieces to ensure that the complex geometric designs fit neatly into place, ensuring fewer mistakes and more economical use of fabric – which was and can be expensive.
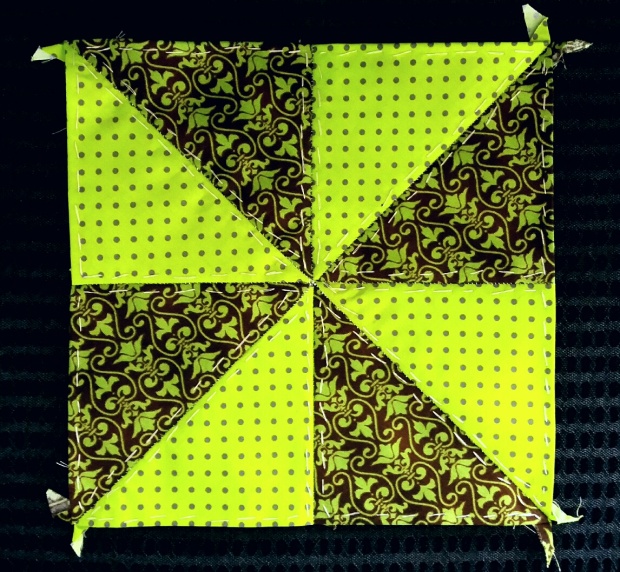
Finished, hand stitched Pinwheel design.
Follow these simple instructions below to help you with your own English Paper Pieced patchwork.
Stage 1
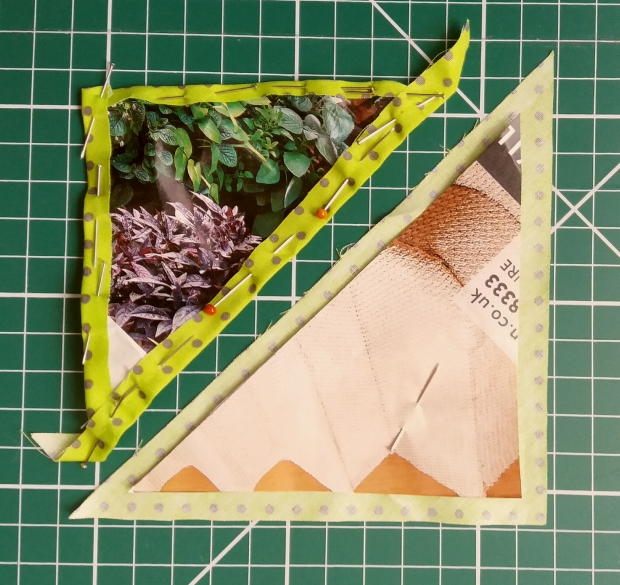
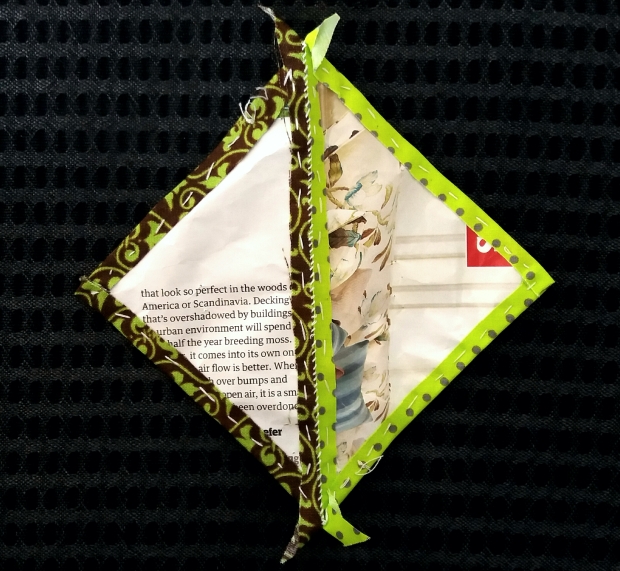
- Pin the backing paper to the ‘wrong’ side of every fabric patch.
- Fold over the seam allowance and pin it so that the paper and fabric are the same size.
Stage 2
- Tack around this edge – contrast cotton works well as it can be easily removed later.
TIP: When sewing the corners, use your nails to ensure you have folded the fabric neatly to the points, then create ‘wings’ in the excess fabric, which will remain on the underside of your patchwork piece – giving you a neat sewing edge on top.

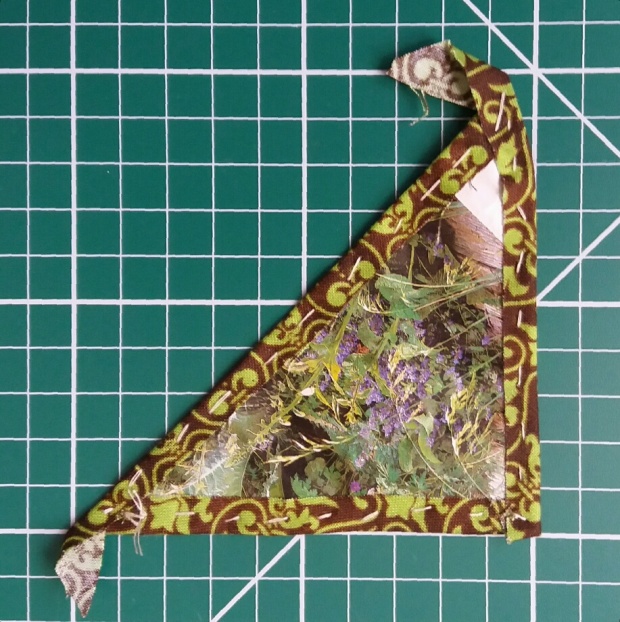
Stage 3
- Place two patches, ‘right’ sides together, line them up carefully so that each corner you are going to sew from matches.
- Pin along this line.
Stage 4
- Then sew a very small whipstitch/over stitch, sewing this edge together – try not to sew through the backing paper.
Stage 5
- Continue placing new pieces together.
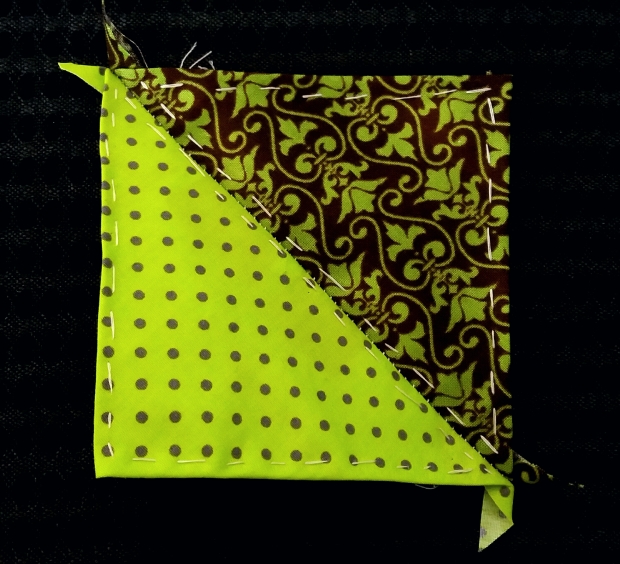
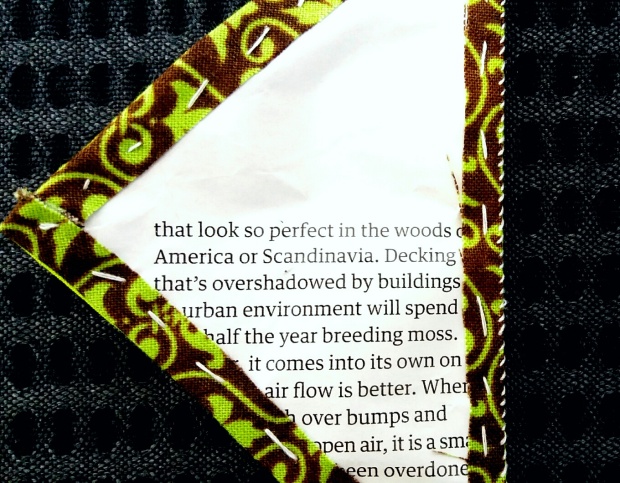
Right side of English paper Piecing.
- Looking at the ‘right’ side of the fabric, you should be able to still see the hand sewn whipstitch you used to sew the two pieces together. This gives it it’s authenticity and adds beauty to the piece.
- The tacking stitches you can see around the edge (and the paper inside) will eventually be take out, once all of the patchwork/quilt has been pieced together, before the backing fabric is placed on.
Finished, hand stitched Pinwheel design.

One thought on “How to: English Paper Pieced Patchwork”